
The Acuity + PassKit integration lets you issue digital wallet passes when someone books an appointment. These passes can include appointment details, check-in barcodes, or customer info, making it easier to manage visits and give clients something they can keep on their phone.
Setting Up The Integration
To connect Acuity with PassKit:
- In PassKit, create and publish your pass project (e.g., appointment card, class ticket, or client pass).
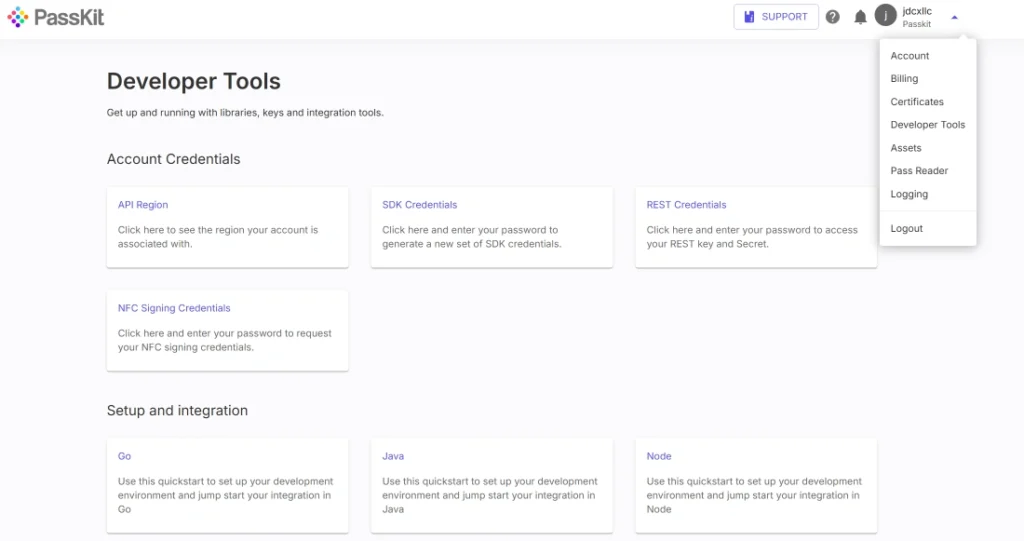
- Go to Settings > Developer Tools in PassKit to get your API region, SDK host, and API prefix.
- Generate your API credentials.
- In Acuity, use their webhook options or connect via Zapier or Make to catch booking events.
- Set a trigger (e.g., new appointment booked).
- Send the booking data like name, email, service type into PassKit to create and issue the pass.
- You can also send a confirmation email with the pass link, or add the link to your existing Acuity email templates.
If you need to handle cancellations or changes, you can set up the automation to update or remove the pass as needed.
Common Use Cases
Using Acuity with PassKit works well for service businesses that want to give clients a mobile pass after booking.
- Send an appointment pass with the time, location, and customer name
- Include a QR code on the pass for check-in or verification
- Offer a digital punch card or visit tracker
- Send a new pass if the appointment is rescheduled
- Cancel the pass if the booking is dropped or no-showed
This gives your clients a clear way to keep track of their bookings and gives you a reliable check-in option.
Requirements
To use this setup, you’ll need:
- A PassKit account with a published pass
- An Acuity Scheduling account
- API credentials from PassKit Developer Tools
- A workflow tool like Zapier, Make, or a backend system to send data between platforms
- Your Acuity fields matched with the fields in your PassKit pass template
No custom code is needed for simple automations.
Support And Documentation
Helpful setup links:
SDK and API Configuration Settings
These will help you get the pass issued automatically when someone books.
Frequently Asked Questions
Can I Send A Pass When Someone Books An Appointment?
Yes. Use Acuity’s booking trigger to create and send a pass via PassKit.
What Info Can I Show On The Pass?
You can display the appointment date, time, service name, customer details, and a barcode if needed.
Can I Update The Pass If The Appointment Is Rescheduled?
Yes. Just trigger an update when a reschedule happens and change the info on the pass.
Can I Cancel The Pass If Someone Cancels?
You can set up your automation to delete or deactivate the pass if a cancellation occurs.